

If you noted my surfeit of pinecones earlier in the year you will know that I was looking for things to do with them, of a Christmassy nature. I saw some big balls of pinecones being sold in the shops this year, as Christmas decorations (not for the tree though, too heavy!) and I thought that I would have a go at making one. Here is a tutorial (be gentle with me) in case anyone else would like to try it out.
First you need a load of pinecones! Seriously, pick up a good basketfull. 30? I can't quite work out how many I actually used. NB: but if you use a small size oasis ball you will need only small/medium pinecones. Try to get a few smaller ones which are useful for finishing but you shoud aim not to have too varied a size selection.

Pinecones
Tools: Snub-nosed Pliers (useful not essential) Secateurs and scissors
Ribbon, enough to go around the ball you are using with plenty left to make a loop
Florists wire
Pins
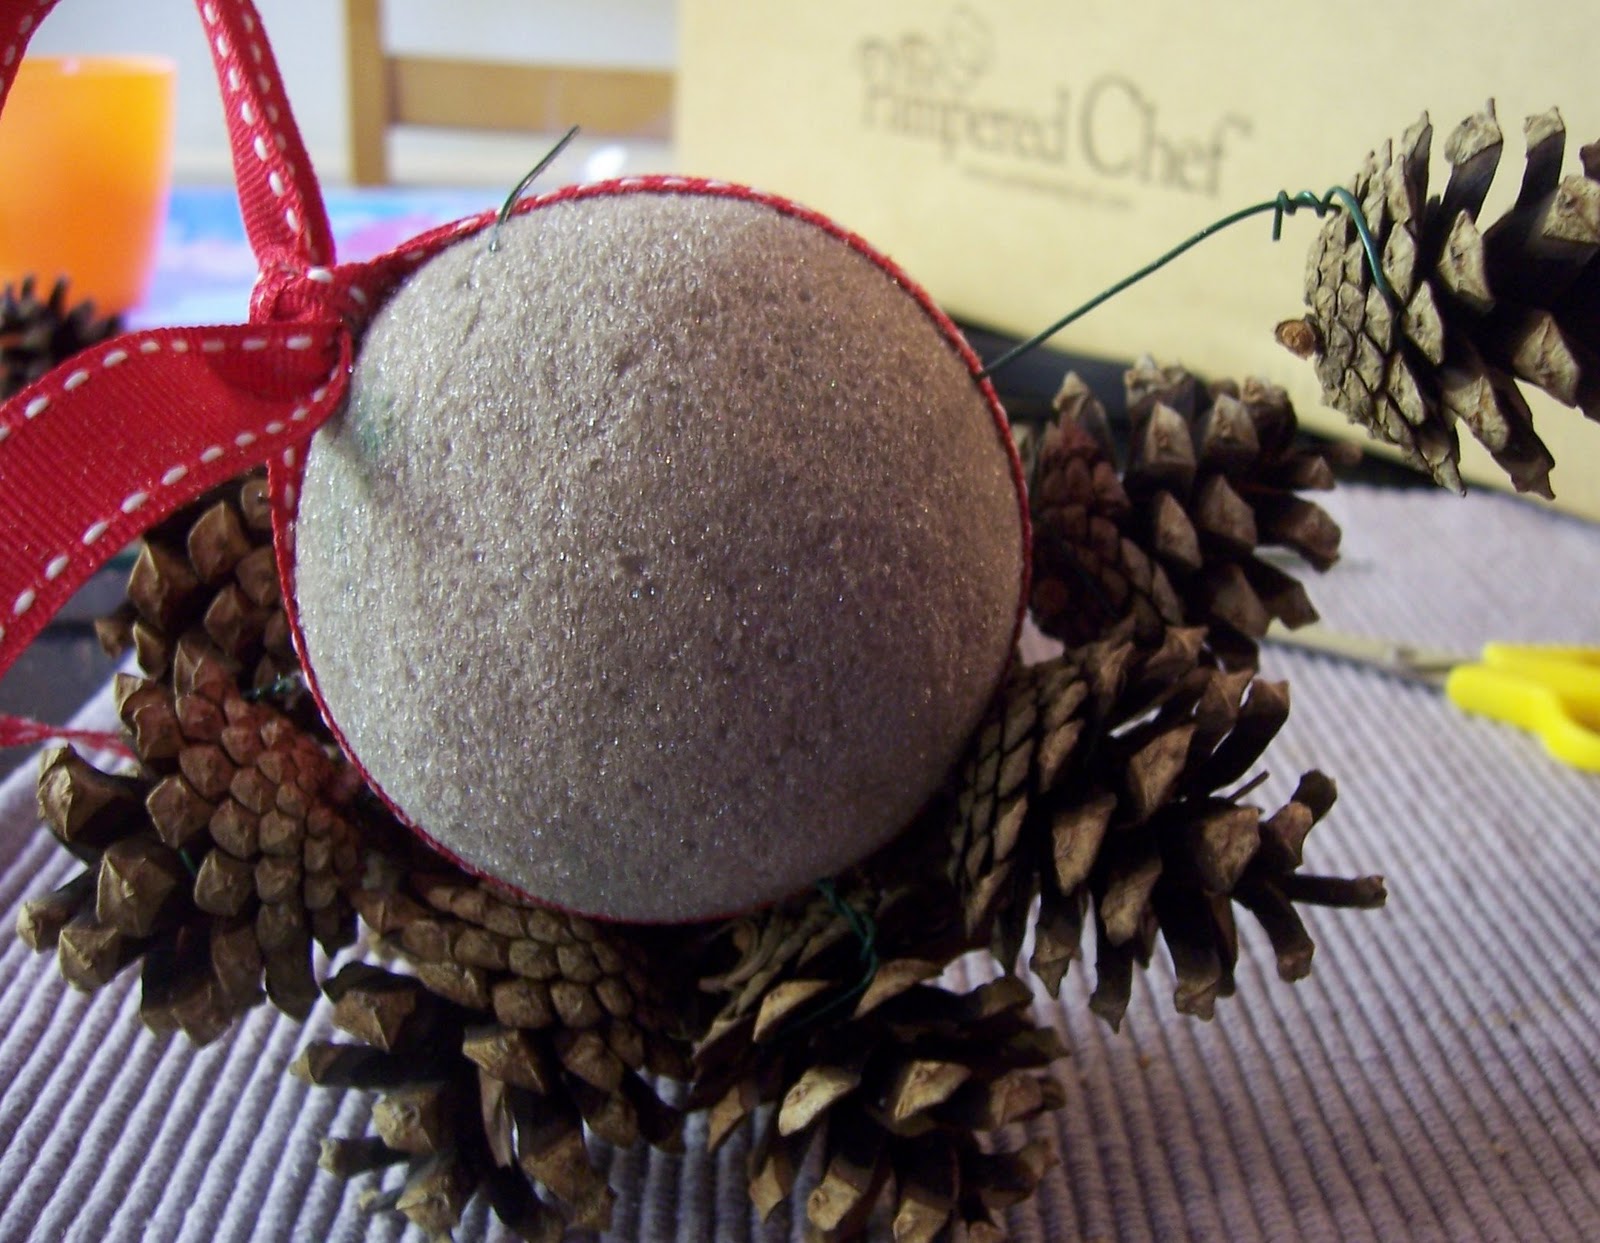
1)Tie the ribbon around the ball, knot it making sure the loose ends are roughly even. Then pin the ribbon in place around the ball with dressmaking pins, use around 4-6.

2) Cut the florists wire into lengths - you will need the first few wires to be long enough to go around the pinecone and all the way through the ball. Wrap the wire around the wider end of the pinecone pulling it so that it slides between the bracts, then twist the ends of the wire. If you do this with pliers it is easier to get a nice secure finish.


3) Insert the wire into the ball - start by adding cones around the centre. The first cones with long wire should be put into the underside, and the long end bent over to secure it. After the first 8 or so with bent over wires you should be safe to use slightly shorter wire which just goes through most of the ball. Beware of making them too short though or they will just fall out again! Keep putting them either side of the ribbon until you have created a double line of cones all around the ball.

4) Now add cones into the central section of either side. It is better to be methodical and keep adding in circles until you just have space for a central one. It may be best at this stage to choose all remaining pinecones and 'try' them by popping them into the space without wires first, because you want a nice snug fit. Jiggle them a little as you put them in, to lock them together and avoid big ugly gaps.


5) Ta Da!! Tie up the end of the ribbon and hang the beast up. These might be pretty all glittered up too.


2 comments:
ooooo thats lovely! Might have a go at that! :D
Great instructions! I've seen these with the pine cone bottoms exposed instead of their tops for a finish that looks like a rose bouquet. Can't wait to try it from your demo!
Post a Comment